How to Blog with Squarespace
Heads up: I use affiliate links for my fave products. If you click and purchase, I may receive a small commission at no extra cost to you.

Learn how to blog with my favourite blogging/website platform, Squarespace!

So the first thing’s first, your template! You can actually blog with any of the gorgeous Squarespace templates so it really doesn’t matter which one you choose.
However, there are a few that are specifically designed for blogging that you might like, such as: Rally, Skye, Tudor, Foundry. But as I said, any template will work!
The only other thing that might impact your decision is whether or not you want a sidebar.
Here is a list of the templates that include a sidebar:
Avenue, Bedford, Anya, Bryant, Hayden, Five, Forte, Galapagos, Ishimoto, Montauk, Julia, Kent, Om, Skye, Foundry, Indigo, Ready, Tudor, Wells, Wexley.
Let's get started!
When you are logged into Squarespace, this is what you will see:

To create your blog, click "Pages" and then the + sign next to "Main Navigation" and select Blog.

Now to add a post, you’re going to click on the + sign.

Then you’re going to fill in the title of your post and input your blog content. This functions the same way as the rest of Squarespace, so you are working with blocks. You can easily insert text, images, button, sign up forms - all with the click of a button.

Next, click "Options" and update your post URL, add a thumbnail image, and add an excerpt (1-2 sentences on what your blog post is about).

Next, you have the option to add tags + categories, decide if you want to allow comments and decide to publish immediately or schedule for later.

Okay, awesome! So now that we have our first blog post ready to go, we’re going to decide on the design. So you’re going to click back a few times and then click "Design" > "Style Editor."
Click over on the right (where your blog is visible) and this will bring up your design options for your blog. Depending on the template you have selected, there will be a few different options. The great thing about Squarespace is that it will show you your edits in real time, making it easy for you to choose!

If you’re using a template with a sidebar, you will often need to turn this on in Style Editor before it becomes visible.
The last few things that I would do, is go into "Settings" > "Blogging" and Enable Comments Globally.

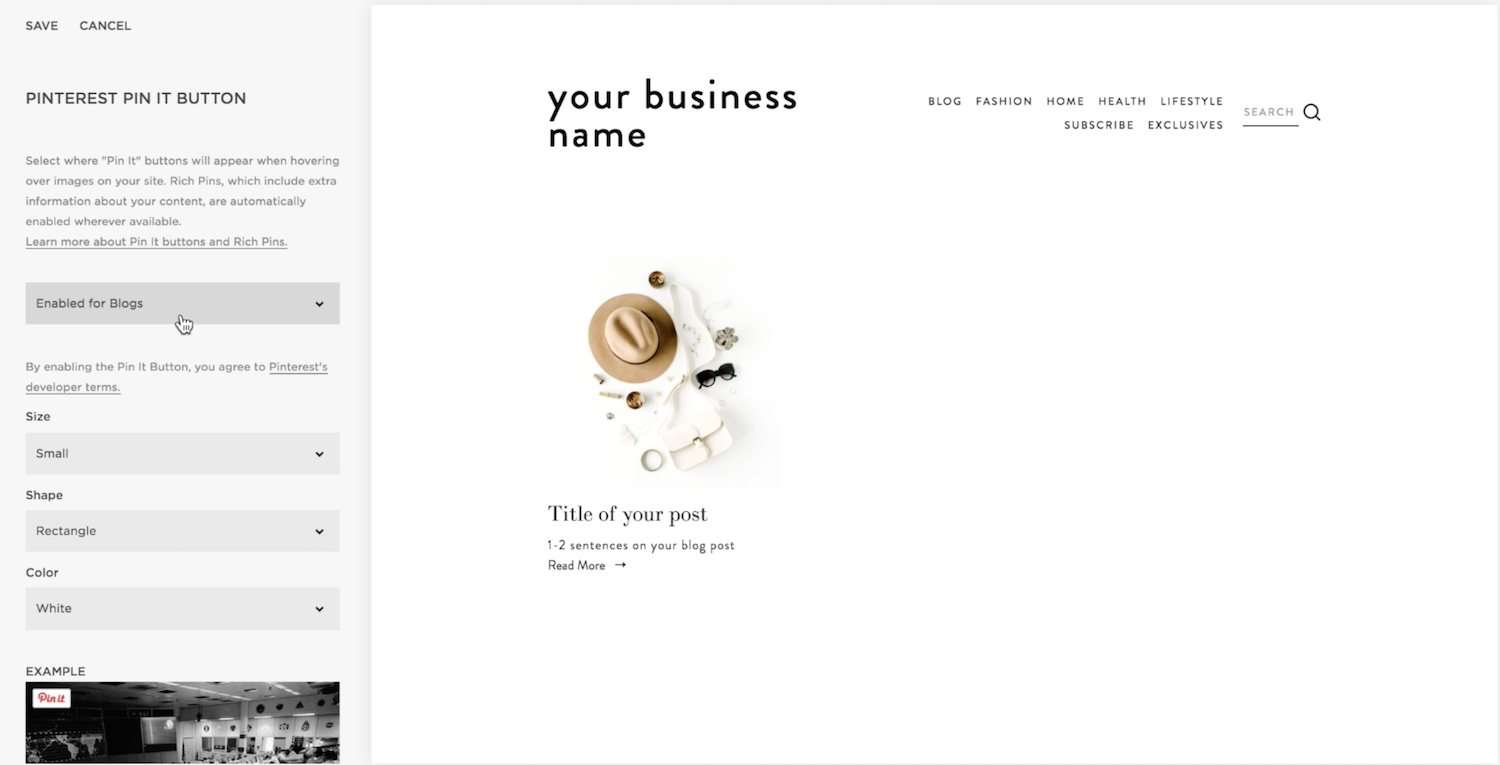
Then I would go into "Settings" > "Marketing" > "Pin It Buttons" and enable this for blogs. Pinterest is one of my favourite ways for driving traffic + you want to make it easy for people to share your content.
You can sign-up for a free trial of Squarespace here. Use the code SIDEKICK10 for 10% off your first year!
I hope this post has helped get you started with blogging in Squarespace! If you have any Squarespace questions for me, leave them in the comments.
GET YOUR FREE ROADMAP HERE:


These tech tools will be helpful for you no matter what dream project you're working on right now! 💖