How to Sell Digital Products Online with Squarespace (Version 7.1)
Heads up: I use affiliate links for my fave products. If you click and purchase, I may receive a small commission at no extra cost to you.
Learn how to sell your own digital products online (ebooks, templates, audio files and more!)
HIT PLAY:
video transcript:
How to Sell Digital Products Online with Squarespace (Version 7.1)
Welcome back to my channel. In today’s video, I’m going to show you how to sell digital products, like eBooks, on Squarespace. I know there are a lot of you that are pivoting right now and trying to figure out how to offer products that are 100% online, so I hope this video will be really helpful to you.
For this, you are going to need a Squarespace account. I’ll link to my other video down below where I show you how to set this up. Let’s dive into today’s training.
Add Your First Product
This is what it looks like when you’re logged into Squarespace. To add a product, you’re going to click on Pages, and then you’re going to click the plus sign and select Store. From here, it will give you two different starter layouts for you to choose from. I’m going to go with Store 1 - I’m just going to remove the number “1” as I’m only going to have this one store - and hit Enter on my keyboard. As you can see, if I scroll down on the right, I can see what it looks like. These are demo products though, so I’m actually going to delete them. To do that, simply double-click on it, and then hit Delete and Confirm.
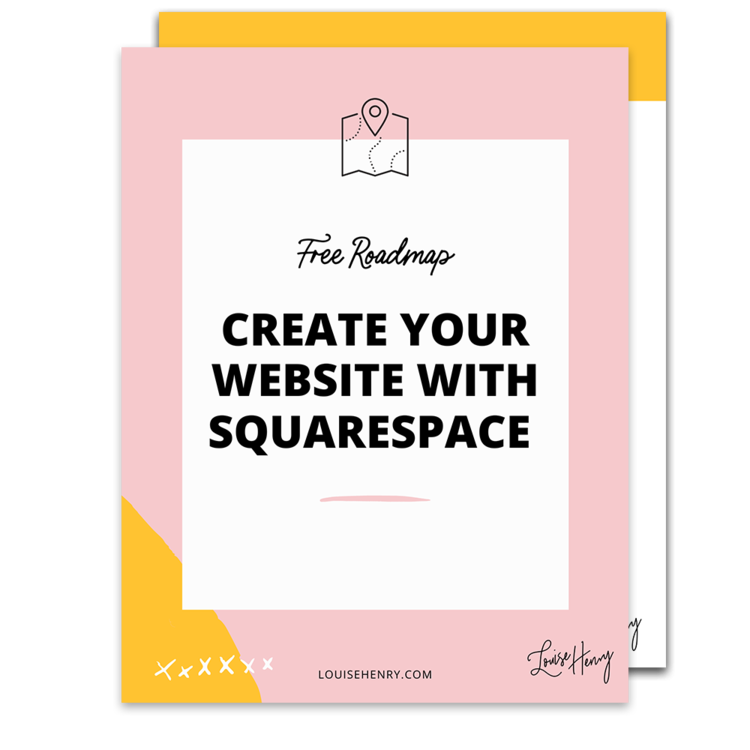
To add your first product, you’re just going to click on Click here to add your first product, and you’re going to select Digital. This is going to work for any type of downloadable, digital file. This could be an eBook, a template, even an audio file – anything that requires a download. Let’s click on Digital, and this is where you input the information for your product. I’m going to type in the name here where it says Enter a digital product name. For demo purposes, I’m going to use my Squarespace Roadmap, and pretend that I want to sell it as an eBook. (This is usually completely free, and you can get it on my website.)
Let’s type in the title here – Squarespace Version 7.1 Roadmap. Then, I’m going to upload some images. I’m going to click the Upload Images arrow, and then I can select one of my images, and then I can upload another one. As you can see, I have created some mock-ups to display my digital files. I definitely recommend that you do this as well. I have a video showing how to do this, so I’ll link to that in the description below. So, we have our photos. Then down here where it says Write here… is where you would add your product information, so I’m just going to add my product details. As you can see, you get this bar across the top with all sorts of different editing options, so you can make use of those.
Upload Your File & Set Your Pricing
Then we have pricing. For that, I’m going to click Edit, and this is going to open up a Pricing & Upload tab. First, you’re going to actually going to add the file. You’re going to click on the Add a File arrow and add the digital file that you want customers to receive. As you can see here, I have my Roadmap pdf. I’m going to click Open, and that’s going to upload here. Now here I’m going to set the price. Let’s say I want it to be $25 – I just type in 25 then click right here and it adds the dollar sign and the two zeros. I can also add a sale price. Let’s say I want to actually put it on sale for $20, I can do that, and then I can check On Sale.
Additional Tabs
Let’s go through the rest of the tabs. But first there were a few more under the Item tab. You’ll see we have Tags and Categories - you can absolutely add those. Under Additional Info, you can add any additional information that you would like – this functions like the rest of Squarespace and you can add in any blocks that you would like. (If you’re new to Squarespace, definitely check the description below because I’ll link to my other Squarespace videos - and make sure to get your hands on this Roadmap.)
Next we have Form, if you want to collect additional information when you sell digital products, but I’m happy with what Squarespace collects by default. I will show you that in this video. Then, Options. This is definitely important. You’re going to want to add a product URL – a unique link for people to use to get to this product. I’m going to enter squarespace-roadmap – you’ll want to use just letters or dashes. Then you’re going to add an image for your main thumbnail. So, whichever image you want to use for the main thumbnail on your shop page, upload that right here. Then I can leave everything as default.
Then we have our SEO tab for you to add the right keywords to ensure that your product is found. Then we have the Social tab. This will actually pull one of your photos by default after we publish this – or you can add a custom social sharing image. I would recommend you do this and use one that is more landscape dimensions, so that it shows up nicely on social media. Then we have the Share tab. This is where you can connect your social media accounts and it will automatically share out your product. (I actually never use this and wouldn’t recommend it.) We are done here. So, we’re going to click Save & Publish.
Customizing Your Store & Product Pages
As you can see, this has added our product to our store. In order to view your store fullscreen, you’re going to click this arrow, top right. That’s what it looks like. Keep in mind that, with Squarespace, everything is customizable – the colors, the fonts, the background color, the size that your products are displayed – everything about it is customizable, which is a huge reason why I love Squarespace.
Let’s click on the arrow top right again to exit fullscreen. Not only do we have this shop page, which would display all your different products, but if we click on the item, it will also open up your individual product page, which looks pretty great. Again, everything about this can be customized.
Now I want to show you how to change your colors. You’re just going to click on Store, then Edit. Scroll down to your product area and you’ll see a little Pencil icon appear, top right. Click on that, then go over to Colors, and you can take off the default theme if you would like and you can change this to any of these colors here. I’m going to change it to White Bold, and as you can see that’s going to give me a white background, which is going to be a little easier to see all the details here. Tons of choices here in terms of colors. Let’s go with White Bold and hit Done and Save. That’s how you change the color of the product area, and there’s a whole lot more that you can customize within the colors themselves.
Let’s get to customizing our product page, because I love how many options you have. We’re going to click on the item here, and this is going to open up, and it looks great, but there might be some elements that you want to change. Click Back (Home) to go back, then Design, Product Items, and here you’ll see all these different editing options for this page. For example, Width is currently Full, but you could change that to Inset, so that will give it a bit of a border. You can change the aspect ratio of your photos. I have it on Square – I’ve uploaded square images – but yours might be a different size. You can change the text alignment, you can change how this product navigation looks, the item spacing, your gallery width – so this is how big your images display - I could make them a lot smaller or a lot bigger. We have content alignment, whether you want to have a slideshow, or stacked, or change it to a carousel. There is a whole lot that you can do here. We can change where the photos are placed. We can change what happens when you click on the photos – so we can have it where it will zoom in, or lightbox where, if you click on it, the image will open up in a new window. I can put it back to slideshow, then change the hover action to zoom, so that when I hover over the image it’s going to zoom in on my product photo. Let’s hit Save and Back (Home), then Back (Design) again.
Setting Up Your Store to Sell Digital Products
The next thing you need to do is click on Commerce. We need to get your store setup for sales in order to sell digital products. You can sell on the Business Plan or higher. If you’re on the Business Plan though there is a 3% transaction fee, whereas on the higher Commerce Plans there is a 0% transaction fee. Check out squarespace.com/pricing to see what plan is best for you. As you can see, I’m on a trial – I’m actually going to need to subscribe to a plan in order to start selling products. I’m going to click on that. For demo purposes, I’m just going to go with the Business Plan. So, I’ve gone ahead and done that. Now I’m going to go back to my site.
We’re going to go into Commerce, and then Payments. Squarespace connects with both Stripe and PayPal, so you’re going to need to hook that up here. We’ve connected PayPal, you’ll see your store currency down here. You can change that, if needed. Now, let me walk you through the process of what it looks like from the customer and from your end as well.
Let’s pretend that I’m a new visitor to the site. I’m going to click on Store and I’ll see my Store here. Then I click on my Roadmap to see my Product Page, and I’m going to click Add to Cart. If you want, it can either look like this, or you can enable Express Checkout and it will go straight to the checkout. It’s up to you. Then I’m going to click on my Shopping Cart icon, then Checkout. This is what the checkout will look like for your customer. You can of course customize more of this for your brand. I’m going to click Continue, and I’m going to type in my information, and click Pay with PayPal. They will either see the option to login or create an account. If they click on Create an Account, they can actually just use their credit card here and pay this way, and then just choose to not create a PayPal account, so that is an option as well – but if you would like this to be more seamless, because I can see that would definitely get a bit confusing – then I would setup a Stripe account which is an easy way to accept credit card payments.
After they have purchased, they will be led to an order confirmation page where they can click here and download your eBook or digital file. Super nice and simple. They will also receive some emails from you. Your customer will get an order confirmation email like this, and then they will receive another email with the digital download link. This is super important. Once they click it, they will have 24 hours before this link expires, so it’s really important that you just instruct your customers to click on the link and ensure that it has actually been downloaded and saved to their computer, because 24 hours from now, if I were to come into my email again, and then try and click this, it won’t work. You, as the store owner, can resend to them. I think it’s just important to tell them that they need to download it to their computer, and then that’s totally fine. As the seller, you will receive an email letting you know that a new order has arrived.
Within Squarespace, make sure that you click on Commerce, and then scroll down to Setup and go through all of the different tabs to make sure that everything is set up correctly for you to sell digital products. Also, under Customer Notifications, it’s going to give me all of the options to customize those emails.
Squarespace is very flexible and customizable. To get more help, make sure you grab my Roadmap by clicking the link in the description below - then you’ll also be on my list and I can share more resources with you as well.
So, that is how you setup and sell digital products on Squarespace. Of course, there’s so much more to teach you about this topic, so click the link in the description below and you can get my free Squarespace Roadmap which walks you through how to set up your website on Squarespace. Also, if you haven’t signed up for a plan on Squarespace yet, you can use my affiliate discount code SIDEKICK10 at checkout to save 10%.
Thank you for watching. If you haven’t yet, don’t forget to hit Subscribe down below. I’m posting new videos every single day to help you work remotely. I’ll see you tomorrow with another video.





![8 Simple Productivity Habits 🍃 [Working From Home Tips]](https://images.squarespace-cdn.com/content/v1/5696066f1115e0e4e3059106/1754827471549-ZKNAPAMQKEENQ4EBZ8IG/simple-productivity-habits-thumbnail.jpg)



![Kajabi Review 2025 - What You Need to Know Before You Buy! [Kajabi Pros & Cons]](https://images.squarespace-cdn.com/content/v1/5696066f1115e0e4e3059106/1747073445742-LIZROCCY37VZHY8DRA4K/Kajabi-review-2025-thumbnail.png)

In this video, I’ll show you step-by-step how to capture emails directly inside Instagram DMs using Manychat - no landing page required 🤯